Showing posts with label color themes. Show all posts

Thursday, May 27, 2010

Sail Boat Party, Matey!!

Last weekend Lawson Beau turned 1!  His party turned out amazing.  I can't take credit for all of it, unfortunately, only some of it.  We had a FANTASTIC time crafting and preparing for this party.  It was so worth it, it was adorable and so fun! Here is some of what we did!!


The smash cake was made out of one of those giant cup cake pans with a fondant sail boat on top.  I did a tutorial on the cup cake stand HERE. The banner was cut out with a cricut and hot glued on to ribbon. She made origami sail boats and put life savers in them for treats for the tables, and also gold fish.
She made a "say ahoy to our little boy" box as a keep sake for everyone to write notes to him and she'll keep it until his graduation day.  there was a fishing net under the food.  Anchors hanging outside. She made him a sailor shirt, and gave sweedish fish as the favors. They had slip and slide and baby pools for kids to play on. The list goes on.  I loved this party I think it was soo cute, Thanks Taylor for letting me be a part of you and LBG's special day!!


Tuesday, May 25, 2010

adorable diy chandelier!!

I wish I would have seen this before Alyvia's last birthday party.  This would have been perfect for her Princess themed party! Check out this tutorial by Megan @ Brassy Apple!  This could be used for a tea party too. Find it HERE!
by the by....all this stuff is at the dollar store!! :)

Tuesday, May 18, 2010

Ahoy there cup cakes!!


So I helped my friend make a cup cake tower tonight for her sail boats birthday party coming up this weekend. I LOVE the way it turned out and i have to admit that Im pretty proud of myself for coming up with it.  "toot toot" (thats me tooting my own horn).  Anyways here is how we did it.....

First we cut four strips of card board. 2 shorter than the others.  And taped them together at the ends with duct tape.

Then we traced the top and duct taped that on.
 
(ps please excuse my shirt my sunburn on my shoulder was bleeding.)
We cut up red and blue bandanas and used spray adhesive to glue them to a poster board we had cut out like sails. We laid the squares slightly too close together so we could cut the excess into fringe to give it a patched look.
I covered the boxes with that brown post office wrapping paper (that I CAN NOT remember what it's called right now) which was kinda difficult because of the shape but turned out ok.
Then I poked a hole in the top of the top box and stabbed a bamboo stick through (that we broke off of a butterfly net from the dollar store) duct taped the bottom, and hot glued the top.
Then I used the Cricut to cut out Initials and a 1 and hot glued them on, on top of a white ribbon.
To put the sail on we hot glued the white ribbon between the sails, then behind that hot glued some card board so the sails would stay the right distance apart, and hot glued that on to the stick.  Then we tied some white ribbon into a hole we hole punched to make it look like it was tied on. 
We had to hot glue another white ribbon from the back of the stick to the back of the top boat so that the sail would stand up straight since it was heavier on one side.  And TADA! I LOVE IT.  I can't wait for the party saturday its going to be adorable.  YAY

Thursday, May 13, 2010

Holy Beautiful.

Ok, these aren't exactly "cheap" but they aren't bad either.  They are SOOOO Beautiful, though.  I LOVE THEM.  I'm sure if you did them a little smaller scaled and you could find much cheaper vases that would cut the cost considerably.  I am so in love with them.  Check out the step by step tutorial HERE from The Wedding Bee.

Wednesday, May 12, 2010

Seriously Genious!

I'm dying over how cute this is!! What a great idea.  It is, after all, all about the presentation!  Check out the tutorial HERE by The Decorated Cookie.  I dont drink tea, but how fun would this be for Cookies and Milk, or Hot Chocolate.  Yay.  Actually I found a really cute Cookie first birthday party not long ago that this would go GREAT with. You can find that HERE. Wouldn't a cute dollar store coffee mug with a rim full of these cookies make an amazing party favor for this party?? SO IN LOVE!

Friday, April 23, 2010

april fools?? maybe not so much!!

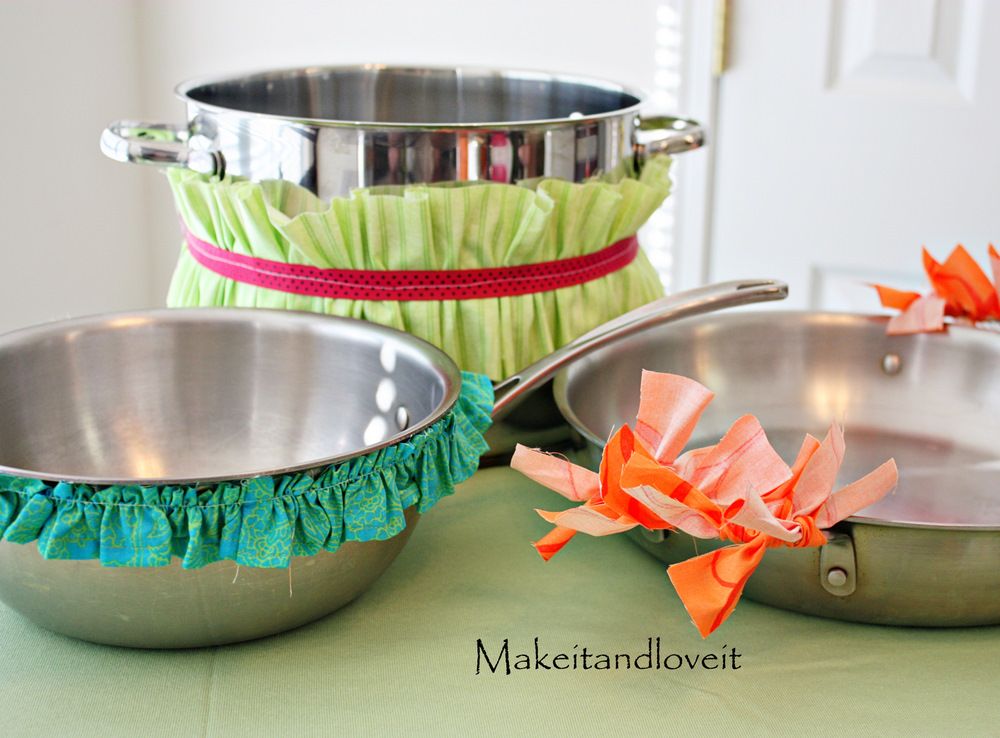
Ok...I know this is suppose to be an april fools gag....and on pots it obviously is.  But what if you put all of those cute little ruffles on elastics and put them around your serving dishes. I think its ADORABLE!! They could slip on and off of your bowls and casserole dishes etc.  I may be taking crafting too far but i dont care I LOVE THIS!! Screams amazing hostess to me!!  Check it out HERE! from Make It and Love It!

Wednesday, April 21, 2010

It's official...I can't wait till September!

So, a friend of mine from back home has 2 little girl 364 days apart!! This year she wants to do a Pink Zebra themed birthday party for her girls, and luckily for both of us ILL BE THERE!! So we get to do it together.  I can NOT wait to do the "dollar store DIY" version of this party.  It's going to be spectacular. Check it out from Top Party Ideas HERE!

Wednesday, April 14, 2010

Bright White and Beautiful!

How could you possibly make a baptism/christening day any more special?! By throwing a party that looks like this!! I love the all white theme.  It is absolutely beautiful.  Find it at Little Sooti. (by the way the dollar store carries pretty glass vases.) And HERE is a tutorial to make those fun paper flower pompoms from Martha Stewart!

ABSOLUTELY ADORABLE!

Parties like this are amazing.  From the second you walk into the room youre instantly awed by the elegance and "put together feel".  Christi at P is for Party shows us this beautiful "Pink and Green First Birthday" Here!  The best part about this birthday party is that so many of the wonderful decorations could be easily home made!

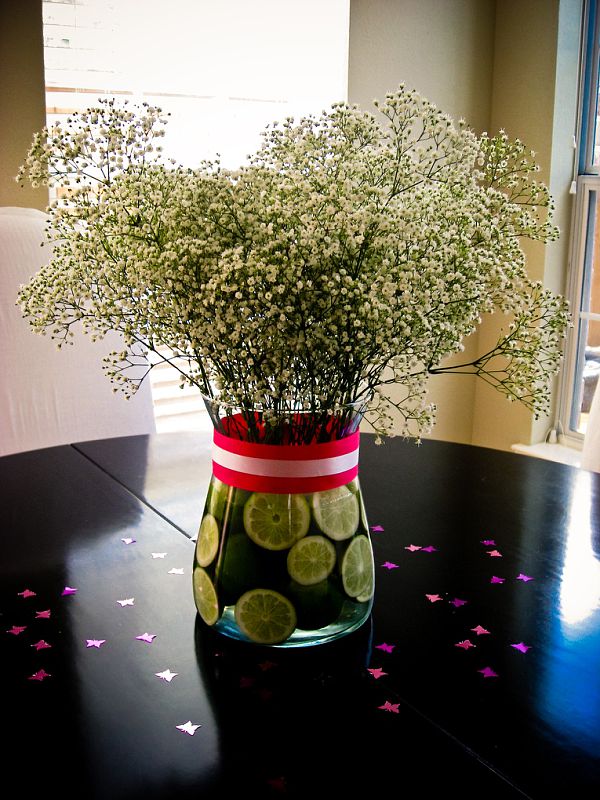
Ok who doesn't love a babys breath bouquet for a first birthday party?? GENIOUS!  Cut your limes, and wrap your ribbons, and you've Done It Yourself!

And this photo banner is Fantastic.  It only cost $0.19 a picture at Walmart for their self-server photo machines.  You could reprint some baby photos in Black and White and glue them to scrap book paper, tie your ribbon and TA-DA! Gorgeous!